
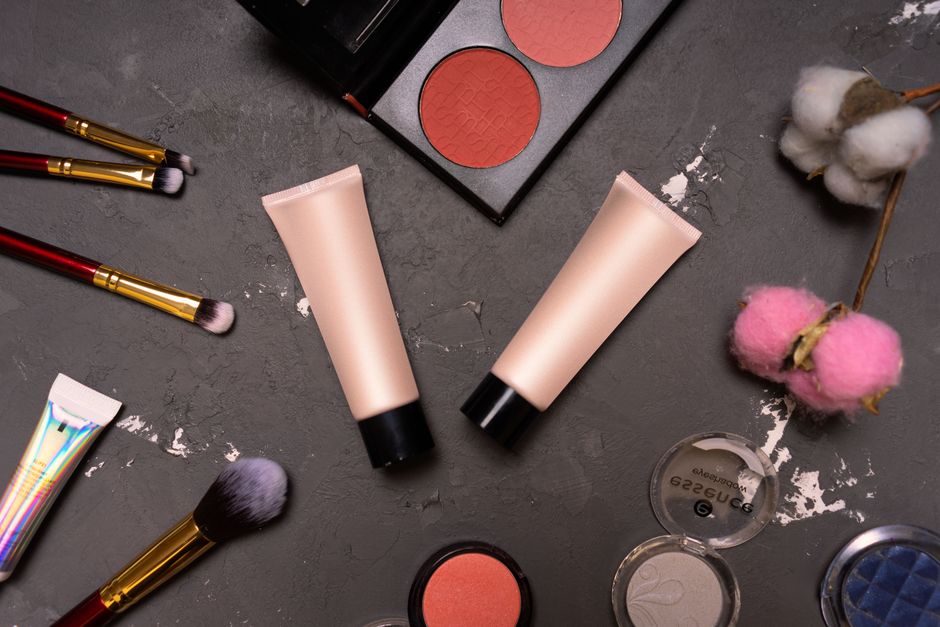
Cream blush can bring a soft finish back to winter makeup, especially when your base looks flatter than you intended. The challenge is applying colour without dragging foundation, disturbing concealer or creating a shiny patch. A small amount, a controlled tool and a little attention to the layers already on your cheeks make the process easier. Start by assessing the surface you have, then build the flush gradually.
How to Apply Cream Blush over Winter Makeup
Winter makeup is not one fixed formula. You might be wearing a sheer tint over moisturiser, a fuller foundation or a base already set with powder. Cream blush behaves differently on each. Before reaching for more product, notice whether the cheek feels slippery, settled or dry to the touch. That tells you more about the next step than the season alone.
Keep the focus on placement and texture rather than trying to recreate a particular complexion. Natural variation can remain visible through your makeup. A soft blush edge and an even transition into the surrounding foundation usually matter more than completely concealing every difference in tone.
Give your base a chance to settle
Finish your usual skin preparation and let it settle before applying foundation. If the surface is still very slick, adding several creamy products immediately can make them move together. You do not need a complicated extra routine; simply avoid rushing from one wet layer straight into another.
Apply foundation in thin layers, especially over the area where blush will sit. Thick coverage gives a brush more product to shift. If your cheeks need additional concealer, tap it into specific areas and blend the edges before adding colour. Keep rubbing to a minimum once you have achieved the coverage you want.
Where possible, apply cream blush before setting powder. This gives you a more forgiving surface for blending. If you prefer powder only through the centre of the face, leave the outer cheeks unpowdered until the blush is complete. You can decide later whether that area needs any setting at all.
Pick up less colour than you think
A highly pigmented blush can look dramatic on a fingertip yet blend into a subtle veil. Place a little on a clean palette or the back of a clean hand, then take a smaller amount onto your tool. This step gives you control before the product reaches your face.
If you use a stick, try picking up colour with a brush rather than drawing directly over foundation. A firm stick can tug on the base, particularly when the room is cool and the product feels less yielding. Gentle pickup lets you keep the pressure on your cheeks light.
Choose a shade by the result you want against your existing makeup. A muted rose may create a quiet flush, while a deeper berry can provide definition when sheered out. On deeper complexions, a shade with sufficient depth may remain clearer after blending than a very pale, opaque pastel.
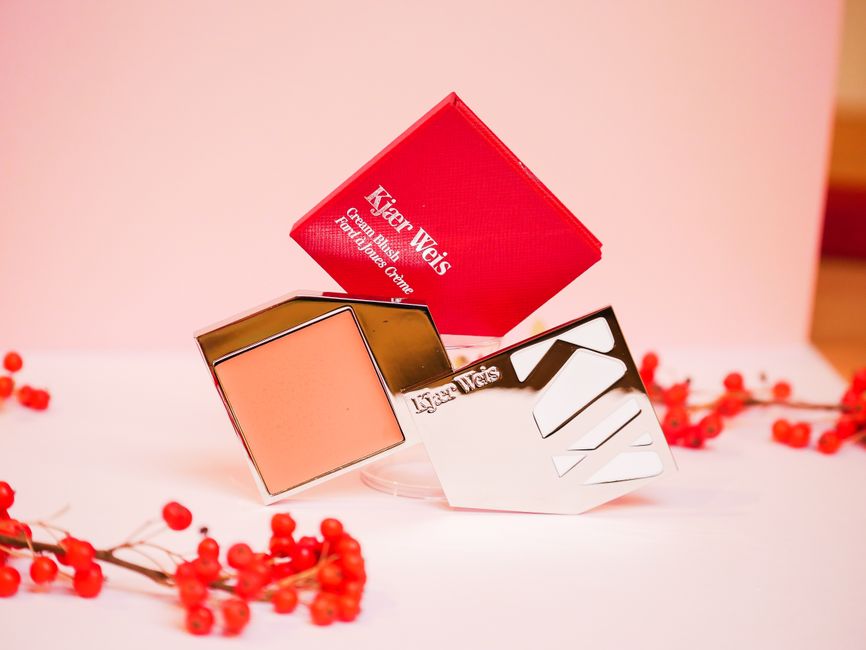
Tap colour into place
Look straight ahead with your face relaxed. Start on the outer part of the cheek, leaving space between the colour and the side of your nose. Tap a small amount into a compact area, then soften it outwards. Beginning with a restrained patch leaves room to adjust the position.
For a lifted effect, blend towards the upper outer cheek without taking the colour automatically all the way to the hairline. For a rounder flush, keep more of it across the fuller part of the cheek. Neither placement is mandatory. Your glasses, haircut and preferred makeup style can all influence what looks balanced.
Use repeated light presses rather than long strokes. Work around the edge before adding more colour to the centre. If you keep sweeping through the same spot, you may remove foundation faster than you blend blush. Pause between layers and check both cheeks together in the mirror.
Match the tool to the finish
Fingertips are useful for a small, soft application. Use clean hands and the pad of a finger to press the product onto the cheek. Keep the touch light and avoid spreading it as though applying moisturiser. Another clean finger can soften the outer edge without adding more pigment.
A soft synthetic brush gives you reach and can distribute colour across a wider area. Load it sparingly, then tap rather than buff aggressively. If you notice streaks, reduce the amount on the bristles before changing your whole technique. An overloaded brush can make even a blendable formula difficult.
A lightly damp sponge can diffuse the finish, but it may also pick up colour and base. Use a clean section with almost no pressure. It is particularly useful for pressing over a visible border after the main blending is finished, rather than repeatedly bouncing across the entire cheek.

Work carefully over powder
Cream over powder is possible with some combinations, but it is less predictable. If you are adding blush to an already finished face, try a tiny amount at the outer cheek first. Watch for patchiness before extending the application. A formula that blends beautifully on bare skin may behave differently over your setting powder.
Load a brush from your hand, distribute the product through its tips and press it lightly into place. Avoid placing a thick dot directly onto a heavily powdered area. That can be difficult to soften without disturbing what sits beneath. If the layers begin to clump, stop adding product.
For future applications, changing the order may solve the problem more reliably than buying another tool. Put your cream colour on first, then set selectively. A soft matte blush formula may already provide the finish you want without an extra powder layer across the cheeks.
Correct excess without restarting everything
If the colour is too strong, press around its edges with the brush or sponge you used for foundation, using the small amount of base left on it. This can soften the transition. Avoid covering the whole cheek with a fresh, thick foundation layer, which may create a heavier texture.
If a patch of foundation has lifted, address that patch rather than continuing to blend the entire area. Tap in a little base, let it settle, then add a trace of blush only if needed. When a combination keeps separating, removing and redoing the cheek can be quicker than building more layers.
Finish in the light you will use
Check your makeup near a window when possible, then look again from a normal conversational distance. A close mirror can encourage endless blending of details nobody sees. Compare the cheeks for overall balance rather than demanding identical shapes on a naturally asymmetrical face.
If you want less shine, use a small amount of powder only where the finish looks overly reflective. Keep the brush light so it does not displace your work. For a later touch up, check the existing colour before adding anything: sometimes a gentle press at the edge is all you need to restore the soft finish.