
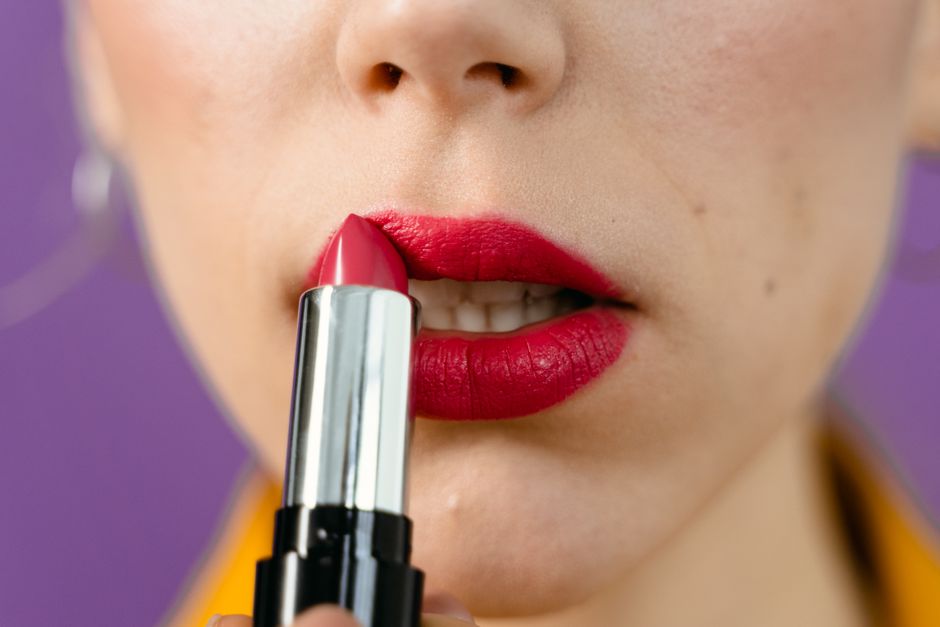
A smooth lipstick finish begins before the colour touches your lips. The useful preparation is usually simple: remove leftover makeup gently, add a little balm and adjust the surface before applying pigment. More steps do not automatically create a better result. What matters is noticing whether your lips feel comfortable, whether product is sitting unevenly and whether your chosen lipstick suits the finish you can realistically achieve that day.
Simple Lip Prep for a Smooth Lipstick Finish
Start by looking at your lips without makeup in good light. A little natural texture is normal, and lipstick does not need to erase every line. Distinguish between a surface that simply needs a softer application and one that feels sore or uncomfortable. When lips are irritated, avoid adding more friction just to create a particular makeup effect.
Set out a clean tissue, a soft damp cloth if needed, your usual lip balm and the colour you plan to wear. A sharpened lip pencil or clean lip brush can help with precision, but neither is essential. A manageable routine is easier to repeat than an elaborate sequence of products.
Remove old colour before adding new layers
Leftover pigment around the edges or in the centre of the lips can change the appearance of a fresh shade. Use a remover suitable for the lip area and follow its directions. Give it a chance to loosen the makeup, then wipe gently rather than repeatedly scrubbing at a stubborn stain.
If you are starting with bare lips, a gentle wipe may be enough to remove traces of skincare or toothpaste. Avoid dragging a dry tissue back and forth. Use light pressure and check that the corners are clean, since small amounts of residue there can interfere with a neat lipstick edge.
Pat the area dry before deciding what it needs next. Looking at a clean surface makes it easier to judge whether the problem is uneven leftover colour, excess product or visible flakes. Each calls for a different adjustment; they do not all require another layer of balm.
Use balm with the lipstick finish in mind
Apply a light layer of a familiar balm that feels comfortable on your lips. Begin this step before the rest of your makeup if that fits your routine, so you can return to it later. You are aiming for a comfortable surface, rather than a thick coating that remains visibly slippery.
Before applying colour, blot any excess with a clean tissue. Press the tissue gently against closed lips and lift it away. You do not need to remove every trace of balm, but a glossy layer underneath can make some lipsticks slide or prevent certain long wearing formulas from setting as intended.
Check the directions for your chosen colour. Some products are designed for clean, dry lips and may not sit well over a rich base. Adjust the amount of balm accordingly rather than assuming the same preparation suits every formula. If the pairing repeatedly separates, simplify the layers.
Skip the urge to scrub every time
A close mirror can make small flakes seem more significant than they look in ordinary conversation. Do not turn exfoliation into an automatic step before every lipstick application. Scrubbing harder does not guarantee a smoother result, and pulling loose skin can leave the area uncomfortable.
If a little residue lifts with a very gentle pass of a soft damp cloth, stop there. Avoid working repeatedly over the same spot, and leave anything that does not come away easily. There is no need to create a completely polished surface before you are allowed to wear lip colour.
When lips feel tender or visibly cracked, choose comfort over a demanding matte finish. A familiar balm or a softer, sheer colour may be a more enjoyable option for the day. Save the crisp, opaque application for a time when your lips feel ready for it.
Keep the edge clean and flexible
Once you have blotted the balm, look at the skin immediately around your mouth. Remove stray foundation or oily residue that might muddy the outline. Avoid building a heavy ring of concealer around the lips; it can create a visible border and make later touch ups more complicated.
If using liner, work in short, light strokes along your natural edge. Begin where you find the shape easiest to follow, then connect the smaller marks. Heavy pressure can create a hard outline that is difficult to blend into the lipstick. You can add definition gradually once the basic shape is balanced.
Check the corners with your mouth relaxed, then slightly open. It is easy to miss a small gap when the lips are held tightly together. Blend the liner just inside the border so it joins the colour smoothly. A liner close to your lipstick shade makes that transition easier to manage.
Apply colour in thin, controlled layers
Start with a modest amount of lipstick at the centre and work towards the edges. A clean brush can help if the bullet feels too wide for precise areas. Keep the first layer thin enough that you can see how the formula behaves before deciding whether you want more coverage.
For a creamy lipstick, a gentle blot can remove excess before a second light application. Press rather than rub, and avoid clamping down so hard that tissue fibres stick. With a liquid formula, follow its application directions and allow it to set as instructed instead of treating it like a traditional bullet.
Do not assume extra coats will fix patchiness. If the first layer is moving around over balm, more pigment may simply create a thicker uneven layer. Pause and assess the base. Removing the colour and starting with less product underneath can be easier than repeatedly trying to smooth it.
Adjust the finish to the surface you have
An opaque matte shade can make surface irregularities more noticeable, while a creamy or sheer colour often gives a softer visual result. This is a styling choice rather than a rule about who can wear which lipstick. Choose the effect you enjoy and allow your lips to retain their natural texture.
If you want shine, add a small amount of compatible gloss after the colour is in place. Keep it controlled near the edges, where excess can make the outline harder to maintain. A glossy centre can create the effect you want without coating the whole mouth in another thick layer.
Check your lipstick from a normal mirror distance as well as close up. Smile, relax your mouth and look for obvious gaps or colour on the teeth. Correct a small mark with a clean tool, keeping the surrounding skin as undisturbed as possible.
Refresh thoughtfully during the day
Before touching up, check what remains. If the colour has faded evenly, a small addition may be enough. If it has collected in a thick ridge or mixed with food residue, gently remove that area first. Layering fresh lipstick over an uneven surface usually preserves the unevenness underneath.
Carry a familiar balm and a tissue if you want a simple reset. You may decide that a softer wash of colour feels better later than restoring the original full coverage. At the end of the day, remove the makeup gently and return to a comfortable lip care step. The most useful preparation is one that keeps both the application and the removal easy.