
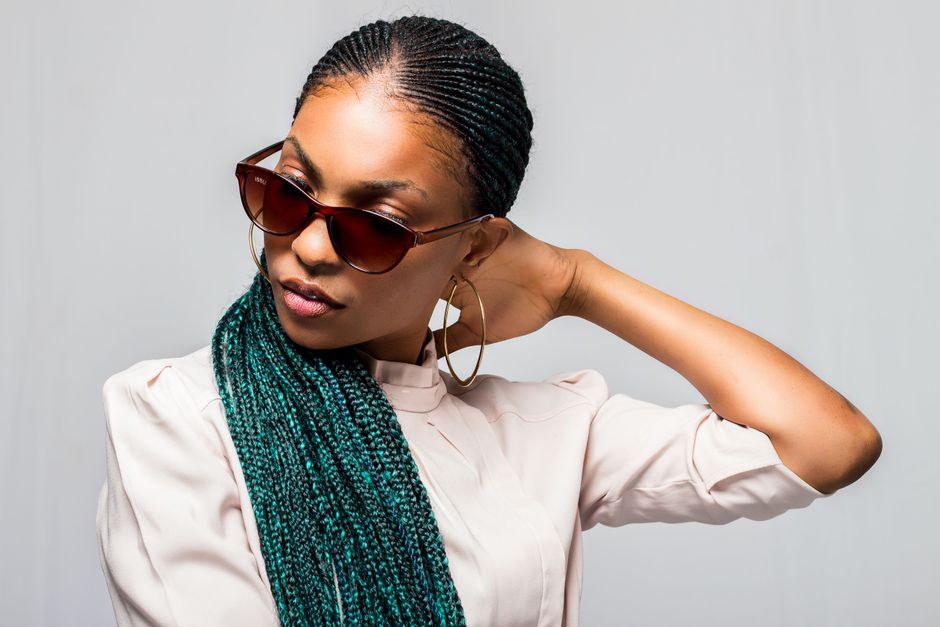
A braid can make weekend hair feel organised without requiring a complicated styling session. For a walk, an outdoor lunch or a lazy afternoon, a simple plait gives you a useful starting point that can be adjusted to your hair length and texture. The easiest styles rely on comfortable sectioning and a familiar braiding motion. Choose a version you can secure gently, then let a few natural flyaways be part of the finish.
Easy Braided Hairstyles for Sunny Weekends
You do not need to master a braid that gathers new hair at every crossing to create a finished hairstyle. A basic three-strand plait can become a side braid, a pair of low braids or a tucked bun. Begin with one technique and change its placement. As you get used to handling the sections, you can decide whether a more detailed style is worth adding to your routine.
Prepare your hair without overloading it
Detangle gently in the way that suits your texture, working through the ends before moving upwards. Curly and tightly coiled hair may be easier to section with appropriate conditioning slip, while other textures may braid comfortably when dry. Keep the preparation familiar. There is no need to brush out a curl pattern simply to follow a hairstyle idea designed around straighter hair.
Gather soft hair ties, a few suitable pins and a comb if you use one for parting. A small amount of your usual styling cream may help manage loose ends, but too much product can make the sections slippery. Avoid starting with a painfully tight ponytail. Any style should feel comfortable at the hairline and behind the ears before you begin adding decorative details.
Learn the basic crossing motion
Divide the hair you want to braid into three roughly equal sections. Cross the right outer section over the middle, then cross the left outer section over the new middle. Continue alternating sides, keeping the sections separate with your fingers. Your hands can move down as the braid grows. Aim for consistent, gentle tension rather than pulling hard to make every crossing look identical.
Stop while there is still enough unbraided hair to secure comfortably with a tie. Do not wind the elastic so tightly that it feels difficult to remove. If shorter ends escape, leave them soft or smooth them with a little suitable product. Practising on a small section at the side can be easier than learning behind your head, where you cannot see your hands.
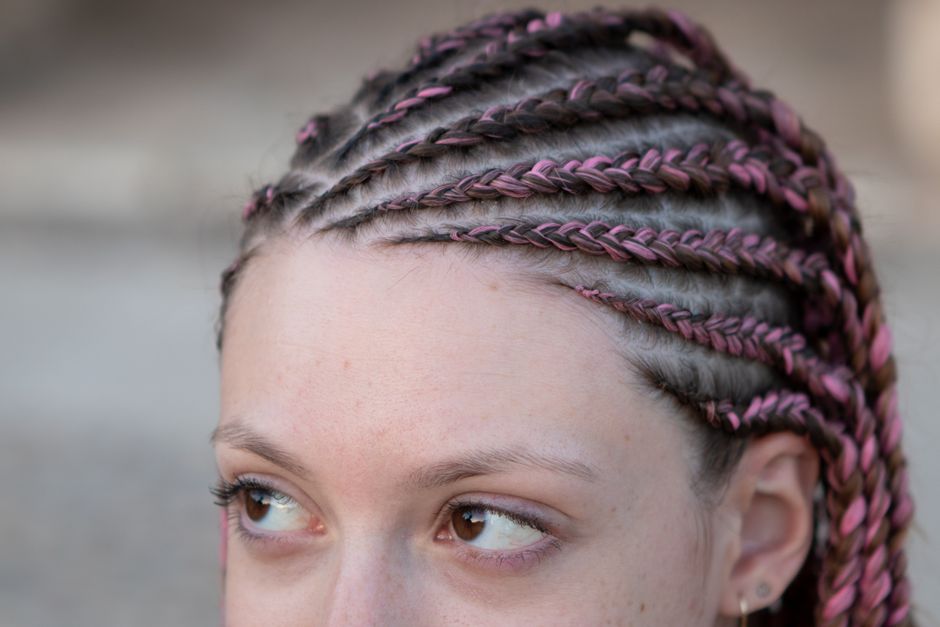
Try a low side braid for an easy starting point
Bring your hair towards one shoulder and divide it into three sections below the ear. Braid using the alternating crossing motion, then secure the end. Keep the area around the opposite temple relaxed so the style does not pull diagonally across your scalp. If your hair has layers, a few pieces may stay loose around your face. They do not need to be forced into the plait.
To soften the result, hold the secured end and gently ease a few outer loops wider. Stop if the braid begins to unravel or the shorter pieces slip out. A side braid pairs easily with an open shirt collar or a simple weekend dress, but check that the end does not catch on jewellery or bag straps as you move.
Use two low braids to divide the work
Part your hair into two sections, using a central or slightly off-centre line according to your preference. Secure one side loosely while you braid the other. Begin each plait below the ear rather than pulling the roots tight. Try to start at a similar height on both sides, but do not worry about making every loop exactly symmetrical.
Two smaller braids can be easier to handle than one large section, especially when you are learning. With shorter hair, stop sooner and allow a more visible tail beneath the tie. With longer hair, bring each section forward as you work so your arms stay comfortable. Remove any temporary tie at the roots if it is no longer needed for the finished style.
Keep some hair loose with a braided half-up style
Take a small section above each ear, leaving enough freedom that your hairline feels relaxed. Braid each section separately and secure the ends temporarily. Bring them towards the back of your head and join them with a soft tie or suitable clip. Let the remaining hair fall naturally. Check the fastening in a second mirror if you have one available.
This option works when you want to move front pieces away from your face while keeping most of your hair loose. For shorter lengths, make just one small side braid and pin it back comfortably. Avoid forcing sections to reach the centre if they are too short. A deliberately placed side detail can look more settled than a half-up arrangement under constant tension.

Turn a familiar braid into a low bun
If your hair is long enough, make a comfortable low braid and curve it around its base. Tuck the end underneath and secure the shape with pins suited to your hair. Place each pin carefully, stopping if it presses against your scalp. The bun can sit centrally or slightly to one side, depending on where the braid began and what feels balanced.
Keep the finished shape close enough to your head that it does not swing heavily. You may need several well-placed pins rather than one tight fastening. If the bun feels unstable, return to the original braid instead of adding pressure at the roots. A hairstyle that stays comfortable through lunch and a walk is more useful than one that needs constant rebuilding.
Adjust the style for hats and outdoor plans
Try on your hat before committing to the braid’s placement. A low side plait or two low braids may sit more comfortably beneath a brim than a raised bun. Check whether the hatband presses on pins or ties. Hair accessories should support your plans, so choose smooth, secure pieces that do not catch when you put the hat on or take it off.
A braid is a hairstyle rather than sun protection for exposed skin. Include an appropriate hat in your outdoor outfit and consider how much of your scalp remains visible along a parting. For active plans, reduce dangling accessories and keep the braid away from equipment or straps. A small spare tie in your bag can make a simple repair easier.
Finish gently and undo with care
Check the hairline, behind your ears and the base of the style before leaving. If anything aches, loosen it or start again with less tension. Keep decorative ribbons comfortably tied, with ends that do not obstruct your plans. When the day is over, remove pins and ties carefully, then unravel the braid from the bottom rather than pulling sections apart from the roots.
Build your weekend options around the version you find easiest. A side braid may become your regular choice, while a half-up plait suits days when you want more hair loose. Small changes in placement and finish create variety without requiring a new technique every time. Let comfort and the natural behaviour of your hair guide the final result.